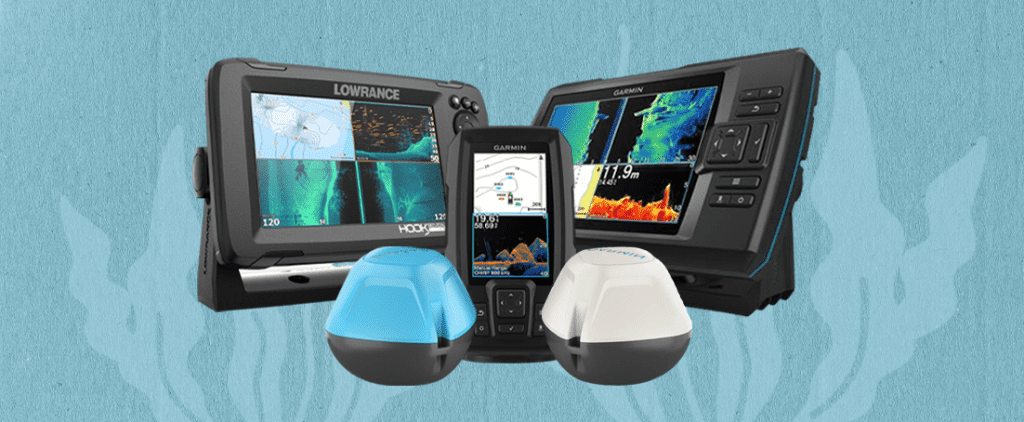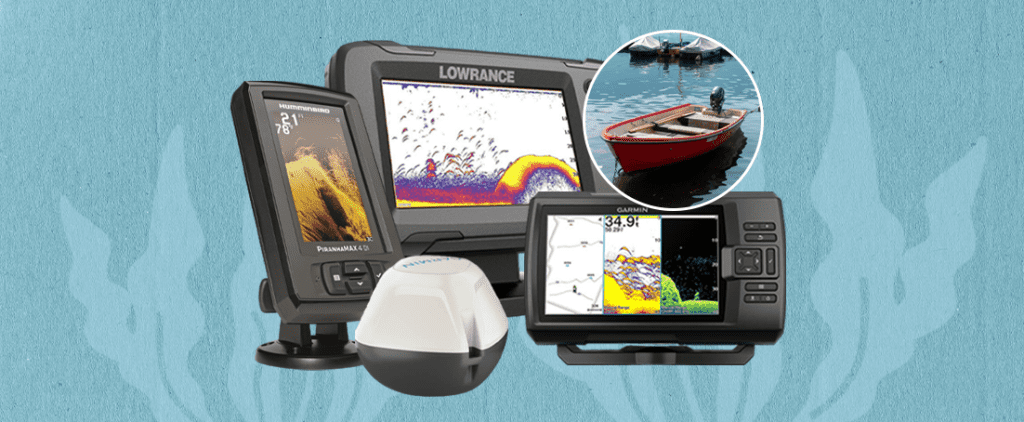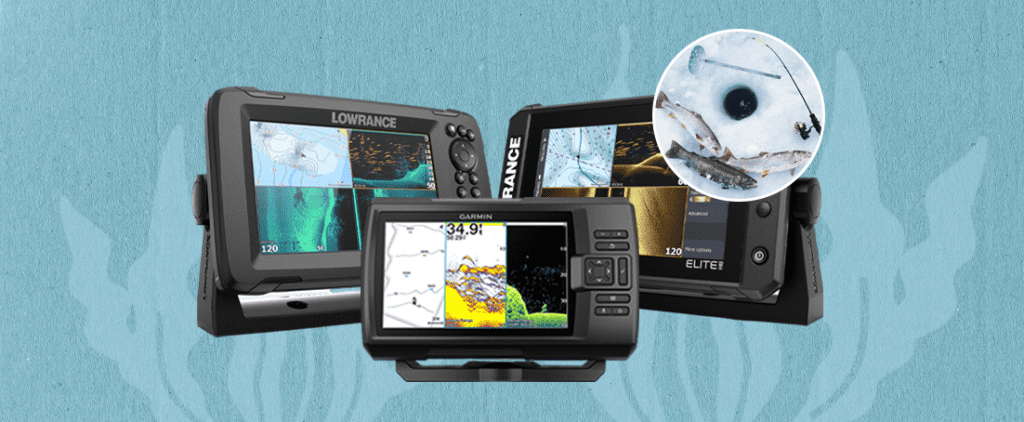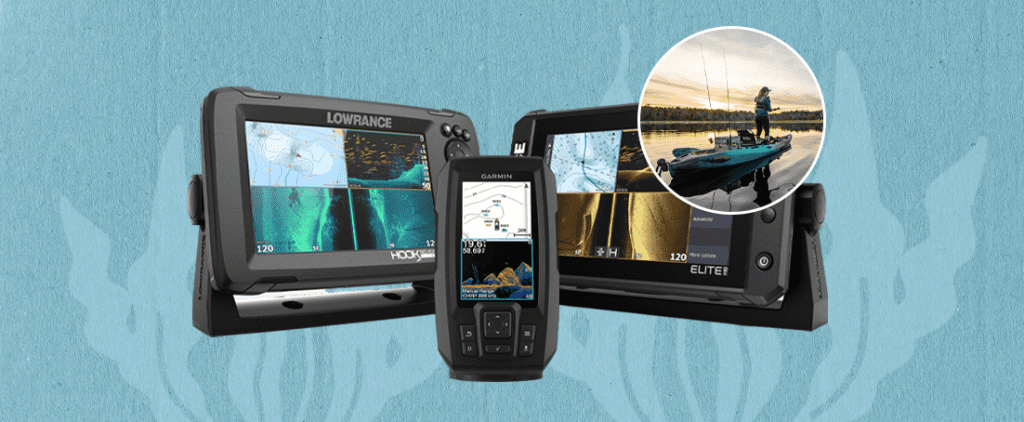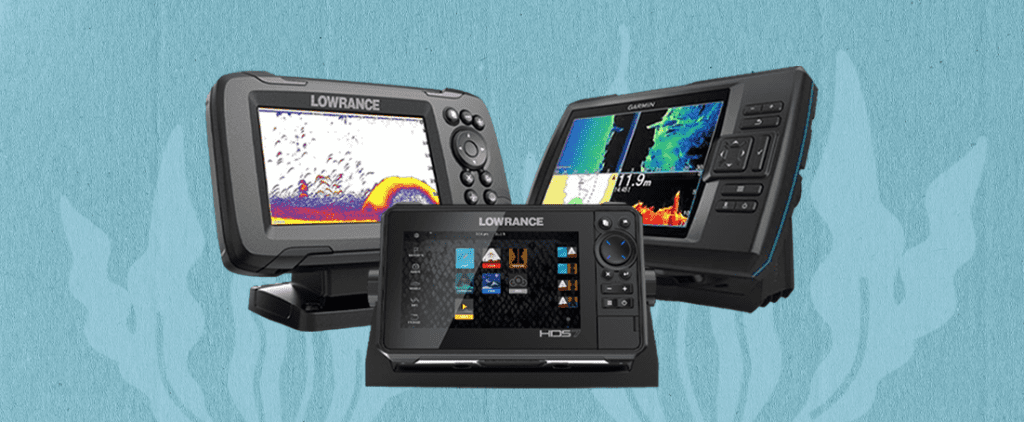
Have you recently acquired a new fish finder for your boat? Before you proceed with its use, it’s crucial to complete the fish finder installation process. This involves tasks that may seem daunting, such as drilling holes into your boat’s structure.
It’s essential to stress the importance of a flawless installation. Any errors during this process could lead to unnecessary holes and a malfunctioning fish finder.
We’re here to guide you through the entire fish finder installation procedure and provide a list of essential tools required for preparation.
How to Install a Fish Finder
Whether you’re dealing with a side imaging or down imaging fish finder unit, both types operate similarly and thus share a common installation process.
There are two primary methods for installing a fish finder near the steering wheel console. The steps include:
- Properly mounting the transducer and fish finder in the appropriate transducer location.
- Establishing connections among the transducer, fish finder, and power source using the provided transducer cable and components.
Even the simplest fish finder installation entails two separate processes: one for the fish finder’s display unit and another for the transducer.
Additionally, understanding how to install a depth finder on a boat is a straightforward endeavor.
Table of Contents
Step 1: Gathering Installation Tools
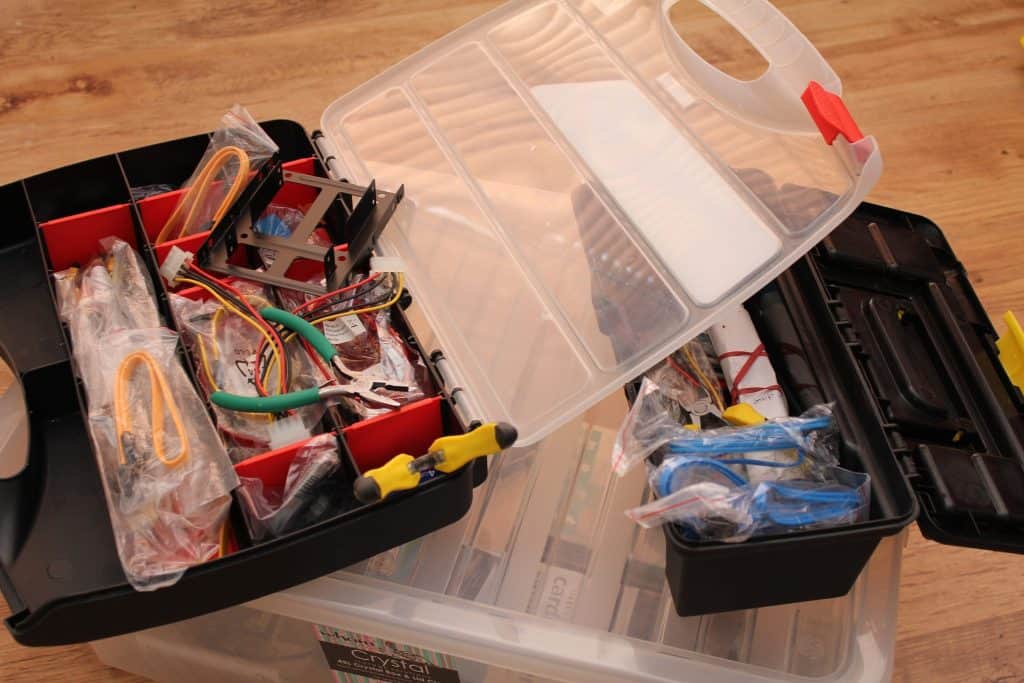
Before beginning the fish finder installation, it’s recommended to gather all necessary tools. This approach saves time, energy, and minimizes the risk of electrical interference. Make sure you have the following tools at your disposal:
- Jigsaw
- Masking tape
- Sealant
- Drill
- Pencil
- Screw gun
Step 2: Determining Fish Finder Display Placement
Multiple options are available for positioning the fish finder display screen. Your choice will depend on whether you have a console and your preference for a flush-mounted setup.
In many cases, smaller boats or consoles lack the necessary space for flush mounting. In such situations, a third-party mount becomes necessary. This mount might or might not be included with the fish finder.
Flush-Mounted Approach
If you’re comfortable cutting through the dashboard of your fishing kayak, you’ll need to pinpoint a suitable location for the fish finder. For boats lacking a console, certain models feature a convenient wedge-shaped panel for the fish finder.
Ensure you account for the unit’s depth and avoid interfering with new transducer wiring. Binnacle mounts are useful when space for flush mounting is limited.
Binnacle-Mounted Approach
Opting for a binnacle mount conserves space and offers an improved viewing angle compared to flush mounting. Installing binnacle mounts is straightforward. Simply assess areas with good visibility and ample space for the fish finder mount. Take trolling motor wires and fishing seats into consideration.
Binnacle mounts enable swiveling the fish finder screen, allowing for varied viewing angles.
Step 3: Transducer Installation
Choosing the right location for the transducer is vital for optimal fish finder performance and image quality.
Through-hull transducers are best suited for inboard boats, as prop wash turbulence can affect performance. Transom mounts are preferable for smaller and outboard boats.
Always follow the manufacturer’s instructions for the proper submersion depth of the transducer, as side and down scanners have specific requirements.
Plan the transducer location ahead, ensuring no obstructions like jack plates, speed sensors, livewell intakes, strakes, or temperature sensors.
After identifying the transducer bracket’s mounting position, use a template to mark the spot. Feed connecting wires through the boat before installing the transducer. Drill mounting holes for the bracket’s screws according to the fish finder template. Apply sealant to the area before securing the bracket.
Use suitable underwater sealant and affix a transom saver block using fish tape. Attach the transducer bracket to the block.
After securing the block, attach the transom mount transducer to the bracket and establish necessary connections.
Avoid cutting the transducer wire; instead, route excess wire behind the fish finder display unit, coiling or wrapping it neatly.
Step 4: Wiring and Power Connection
Proper wiring and power connection is crucial for the device’s functionality and longevity. This section focuses on the essential steps involved in setting up the electrical components of your fish finder system.
- Planning the wiring route: Before you start laying down cables, take some time to strategize the wiring route. Carefully consider the layout of your boat to avoid interference with other electronic equipment, moving parts, or potential hazards. A well-thought-out wiring path not only enhances the aesthetics of your installation but also minimizes the risk of accidental damage to the cables.
- Running the power cable: Guiding the power cable from the fish finder to the boat’s power source requires careful attention. Begin by identifying the most direct and safe route from the display unit to the power supply. It’s essential to keep the cable away from high-traffic areas and areas prone to moisture exposure. Secure the cable using appropriate clips or cable ties to prevent it from dangling or getting tangled with other equipment.
- Connecting the wiring: Once you have the power cable in place, it’s time to connect all the necessary wiring components. Carefully follow the manufacturer’s instructions to ensure proper connections. Start by connecting the power cable to the designated power source on your boat, adhering to any polarity requirements. Then, connect the transducer cable to the corresponding port on the fish finder unit. If you have any additional accessories, such as networking cables or GPS connections, ensure they are also correctly attached according to the provided guidelines.
- Securing the wiring: After all the connections are made, it’s essential to tidy up the wiring to prevent potential issues down the line. Bundle the cables together using cable ties or loom tubing to prevent them from tangling or becoming a safety hazard. Avoid tightly cinching the cables, as this can cause damage to the wires inside. Additionally, consider using cable clips or adhesive mounts to secure the bundled cables to the boat’s structure. This step not only provides a cleaner appearance but also protects the wiring from wear and tear caused by vibrations and movement.
Step 5: Finalizing Fish Finder Connection
Route the head unit’s power leads to the terminal block.
Thoroughly inspect and secure wires using crimped barrel connectors. Apply a corrosion inhibitor like Boeshield T-9 or CorrosionX to electrical connections.
For units combining a chartplotter or fish finder with a VHF lacking GPS, connect out and in NMEA transducer wires to activate the DSC feature and provide VHF GPS data.
Connect transducer and power cables to the unit’s rear.
Advanced Tips and Techniques
As you become more familiar with your fish finder and gain experience in its usage, you can take advantage of advanced settings and techniques to elevate your fishing game. This section delves into some of these techniques to help you extract the maximum potential from your fish finder.
Fine-tuning settings
Understanding and adjusting your fish finder’s settings according to the specific fishing conditions can significantly enhance your success on the water. Fine-tuning features like sensitivity and frequency allows you to tailor the device’s performance to different water depths and bottom compositions. Experiment with these settings to find the sweet spot that provides clear and accurate readings without overwhelming interference. Additionally, adjusting noise filters and color palettes can help you better differentiate between fish, structures, and debris, leading to more effective targeting.
Interpreting sonar readings
Reading and interpreting the sonar information displayed on your fish finder is an art that takes time to master. Different fish species, structures, and bottom compositions are represented by varying arches and patterns on the screen. Learn to distinguish between strong fish echoes and weaker signals caused by smaller fish or debris. Recognize how different structures appear, such as dense vegetation, rock formations, or underwater depressions. By honing your ability to interpret these sonar readings, you’ll be able to locate the best fishing spots with higher accuracy and efficiency.
Networking and GPS integration
Many advanced fish finder models offer networking capabilities that allow you to connect multiple devices on your boat. This enables you to share sonar data and waypoints, providing a more comprehensive view of the underwater environment. Moreover, integrating GPS functionalities with your fish finder opens up opportunities to mark specific locations, track your path, and return to successful fishing spots with ease. Utilizing these advanced features not only streamlines your fishing process but also enhances your ability to collaborate with fellow anglers and share valuable information.
Frequently Asked Questions
Can I install a fish finder myself, or should I hire a professional?
Simple installations can often be done by boat owners, especially if you’re comfortable with tools and instructions. For more intricate setups or through-hull transducers, hiring a professional might be a wise choice.
What tools do I need for fish finder installation?
Common tools include a drill, jigsaw, masking tape, sealant, pencil, screw gun, and possibly fish tape. The exact tools needed depend on your boat and the fish finder model.
What's the right location for mounting the fish finder display?
The best position depends on your boat’s design, your console layout, and your preference. Flush-mounting or binnacle-mounting are common options. Consider visibility and space.
How do I determine the correct transducer location?
The transducer’s location affects performance. Research your boat type, hull design, and transducer type to find the optimal spot. Factors like water turbulence, obstructions, and hull material play a role.
Can I reuse existing holes for a new fish finder?
If the previous fish finder had a similar transducer size, you might be able to reuse holes, but ensure they’re properly sealed. It’s best to follow the manufacturer’s recommendations.
Do I need to connect the fish finder to a power source?
Yes, fish finders require power to operate. You’ll need to connect them to your boat’s electrical system, either directly or through a separate power source.
What should I do if my fish finder isn't working after installation?
Double-check all connections, wiring, and power sources. Ensure the transducer is properly positioned and submerged at the correct depth. If problems persist, consult the manufacturer’s troubleshooting guide or seek professional assistance.
What's the Cost of Fish Finder Installation?
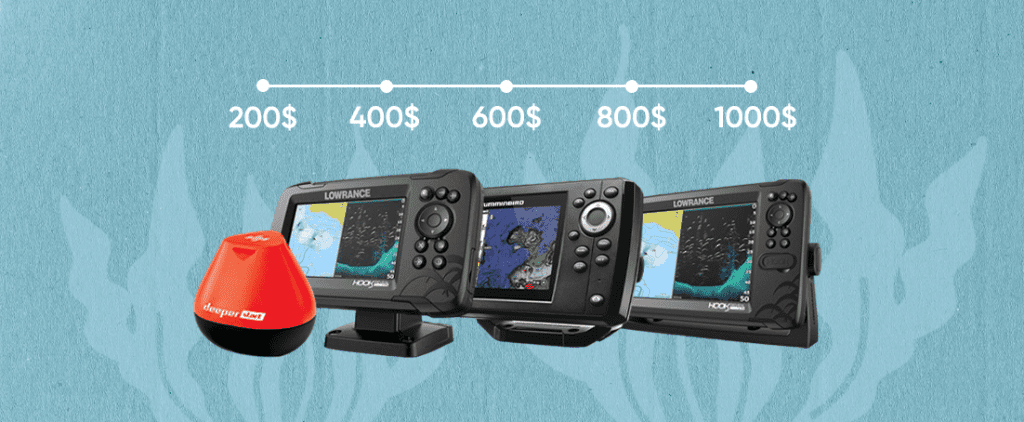
Professional fish finder installation costs between $200 and $400, depending on hourly rates. Costs may increase for setups involving multiple units.
Final Thoughts
In summary, while fish finder installation requires a measured investment of time and patience, it need not be overwhelming in its complexity. Once you’ve determined the optimal placement and embarked on the initial stages, the procedure unfolds with relative ease. Capitalizing on existing drill holes not only simplifies the process but also contributes to the overall safeguarding of your boat.

