Table of Contents
Are you planning on improving your fishing skills? You will have to invest in the best fish finder.
A fish finder is an important equipment that helps make your fishing expedition successful and enjoyable.
To ensure you successfully use the fish finder, you must know how to wire fish to infer to the fuse box.
The fish finder will greatly help anglers with less fishing knowledge. Correctly wiring the fish finder to the fuse box will help you get the best results.
You will have to learn important tactics for locating fish, especially if you are a beginner. Most beginners are known to encounter several issues.
That is why we are here to help them understand how to wire fish finder to fuse box.
What You Should Know Before Connecting Your Fish Finder to the Fuse Box
In your quest to know how to wire fish finder to fuse box there are important things that you need to know before embarking on the connection process.
Basic fish finders comprise two devices requiring installation and wiring in the transducer and computer display screen. The transducer has a single cable running out, while the head unit or the display unit has two wires.
Transducer wiring
The transducer draws power through the head unit, which is why a single cable comes out. The cable will get into the boat and round the edge connecting with the computer’s display screen. Ensure the hole is above the boat’s waterline for safety reasons.
Wiring Display Unit
There is the negative and positive wire which draws power from the battery. Distinguish the wires by checking for the positive and minus sign. Check the manufacturer’s instructions if the wires are color coded. Black is always negative, while red is positive.
Tools You Will Need to Wire a Fish Finder to the Fuse Box

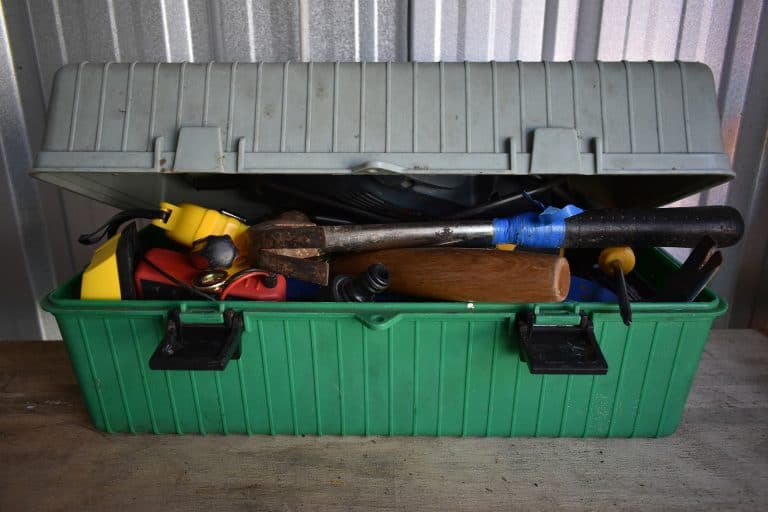
You first assemble all the tools you will use when wiring the fish finder to the fuse box.
Fish tape: You will use this tape to run power cables from the head unit to the cranking battery’s power source. Ensure you always wear gloves when doing this to protect yourself from being cut on fiberglass.
Cordless drill with Bits: This tool will help you develop an accurate mounting hole.
Masking Tape: Masking tape will help prevent cracking and chipping of the gel coat. The tape ensures the coating does not crack even when the bit bites the hull.
Wire crimper: Crimps and strips spliced connections.
Shrink Tube: Shrink tubing will help keep moisture away from the wire splices. Using shrink tubes or electrical tape is a foolproof method of ensuring aesthetics and safety.
Cable Ties: If the look or appearance of your boat is a concern to you, cable ties or cable wraps will help clean the job.
Heat Gun: The heat gun will help shrink tubes over the connections.
Inline fuse holder: The inline fuse holder will help safeguard your installation, ensuring spikes do not damage the fuse.
Stainless Steel Screw: Ensure you have the right size of stainless steel screws. Go for long screws since they enable you to easily reach under the console or boat.
Simple process to wire fish finder to fuse box
It is possible to do the proper installation by yourself without hiring an expert. You need a proper understanding of wiring the fish finder to the fuse box.
Method 1: Primitive Method
Measure the length of your battery wire
Identify the spots where you want to set up the devices
Install the fish finder transducer
Direct the transducer cable to the fuse box and then to the transducer.
Use the crimping tool to wire the fish finders to the fuse box. Use the wire-matching rule to crimp them together.
Seal the battery connectors end using electrical tape or heat shrink tubing. This ensures they are watertight.
Method 2: Advance Method
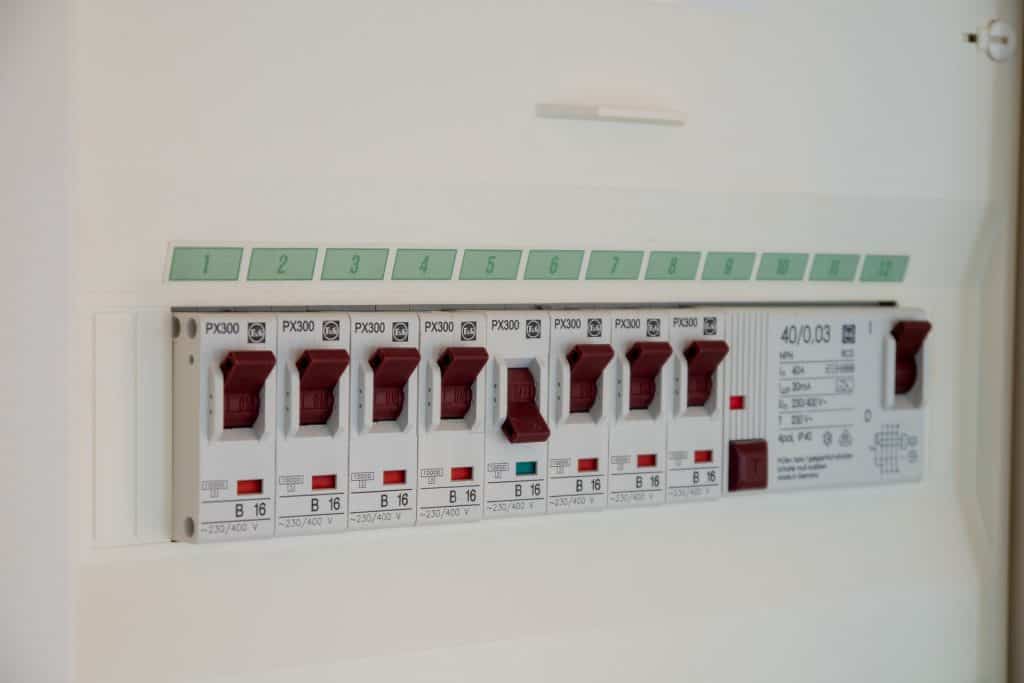
Turn off the engine of the boat and remove the key. Ensure you wear rubber gloves to protect you from any shock.
Direct the power cable from the fuse tap block to the fish finder. Use scissors or wire cutters to cut the power excess cable end.
Strip ¾ inch of insulation of the positive and negative cables. ½ inch black and ½ inch red from the two cables using wire strippers.
Connect the red wire to the power leads set on the fish finder with the black wire to the ground lead on the fish finder.
Attach fish finder power leads to the circuit breaker. If the manufacturer provided you with some nuts, use them.
Replace the fuse block cover and start the boat engine.
Benefits of Wiring Fish Finder to Fuse Box
Knowing how to wire fish finder to fuse box has several benefits. Here are some main advantages of wiring the fish finder to the fuse box.
Durability
The new wire connectors are sturdy and can last for long periods. They will not get damaged when wiring fish finder you connect directly to the fuse box. Most fish finders
longevity and durability depend on how you take care of the unit.
Easy to locate
Locating fish will be much easier when using a good fish finder. This will help improve your chances of catching more fish and saving time.
Easy to operate
Operating electrical devices is easy, and you will not experience any major issues. Managing the electrical devices using separate boxes will be very much convenient.
Save Money
You will have an extra correct fuse when there is a limited power supply and many devices on board. This will help protect the boat from the excess power supply. There will not be a huge electrical shock whenever an accident or water accidentally finds its way into the cables.
Tips to Wire a Fish Finder to a Fuse Box
You can hook the fish finder battery wire by connecting it directly to the battery or the fuse box.
To the Fuse Box
Use the steps below to connect the fish finder to the fuse box.
- Figure out the open fuse terminal
- Cut the battery connectors and the inline fuse off
- Strip wire insulation
- Figure the negative and positive terminals
- Crimp wires into place using the crimping tool
- Install the right fuse
Direct to the Battery
The process of wiring the fish finder to a battery will be much easier if you have previously connected the negative and positive cables. Before you embark on the connection process, confirm if the positive cables contain an inline fuse.
Use the steps below when connecting directly to the battery.
- Figure out the battery’s positive post
- Properly unscrew the nut
- Slip positive terminal connected
- Replace connectors screw and tighten
- Do the same for the negative connector
- Note: Never run the wires close to the casing of the boat’s engine
- Before installing the device, first, connect and confirm if it is working
FAQ
Can you wire the fish finder directly to the battery?
You can use two methods to connect the fish finder to the starting battery. Connecting to the fuse box is the easier and faster way. It will help save time but increase the chances of failing.
There is also a direct connection to the battery. Although it sounds complicated, it is not difficult and will give accurate readings.
Do you need an inline fuse for the fishfinder?
Yes. The inline fuse will blow when you get a short in the wiring or a power surge.
The fuse box help safeguard your fish finder against high loads of current and power surges.
